


Product Photography Tips: Essential Steps for Professional Product Photos
Professional product photography is one of the key factors behind the success of e-commerce stores. Clear, attractive images help showcase product details, capture customers’ attention, and provide a more informative shopping experience. A good product photo does more than display an item; it helps customers form an impression of it and understand its features before making a purchase.
As competition in e-commerce continues to grow, investing in high-quality product images has become essential for businesses seeking to strengthen their digital presence. Professional results do not always require expensive equipment. A suitable camera or smartphone can deliver excellent results when combined with proper lighting, a well-chosen background, and the right photography angles.
In this guide, we explore the essential product photography tips and steps you need to know, from preparing your shooting space and choosing equipment to optimizing images and displaying them in your online store.
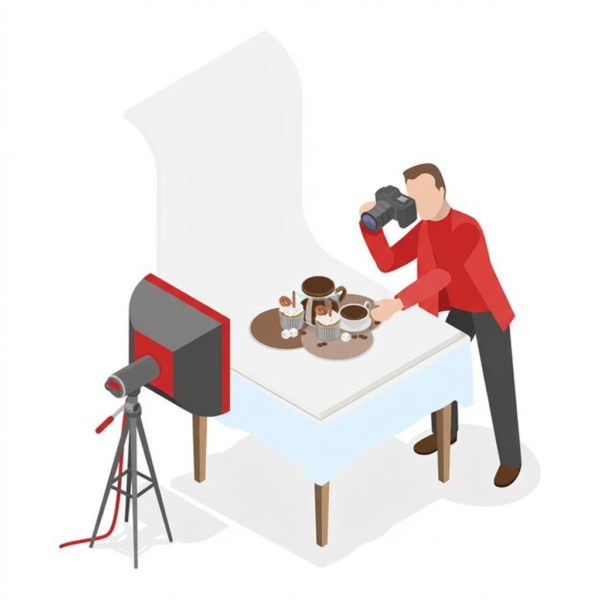
Why Is Professional Product Photography Important for E-Commerce?
Product images play an important role in the online shopping experience. Customers cannot physically touch or try products before purchasing them, so they rely on the available images and information to understand what they are buying.
Professional product photography helps you:
- Highlight product details and features.
- Show colors, sizes, and shapes clearly.
- Improve the visual appearance of your online store.
- Build customer confidence in the products you offer.
- Provide a clearer shopping experience.
- Support marketing content used in advertising campaigns and social media.
It is important for product images to represent the actual item accurately. Visual edits should never mislead customers or make a product appear to have features it does not possess.
Essential Steps for Professional Product Photography
Successful product photography begins with proper preparation. Choosing suitable equipment, setting up the background, adjusting the lighting, and selecting the right shooting angles all affect the quality of the final image.
1. Choose the Right Camera for Product Photography
You do not need an expensive professional camera to capture good product photos. However, it is important to use a device that can take clear images and capture product details accurately.
When choosing a camera, consider:
- Image resolution and quality.
- Its ability to focus on fine details.
- The ability to control lighting and exposure.
- Compatibility with lenses and accessories.
- Ease of use and suitability for the products you sell.
A smartphone can also be a suitable option if its camera meets your needs, especially when photographing small products or creating simple images for an online store.
2. Choose a Suitable Background for Product Photography
The background affects the overall appearance of an image and how clearly the product stands out. Choose a simple background that highlights the product rather than distracting attention from it.
Suitable options include:
- White backgrounds: Suitable for primary product images in many online stores.
- Black backgrounds: May work well for luxury products or items that require strong visual contrast.
- Colored backgrounds: Can be used to complement your brand identity.
- Natural backgrounds: Suitable for products shown in realistic settings or everyday use.
Make sure the background does not clash with the product’s color or hide important details. Maintaining a consistent visual style across your store’s product images also helps create a professional appearance.
3. Show All Product Details, Colors, and Sizes
Your images should give customers a clear understanding of the product before they buy it. Rather than relying on a single photo, show the product from different angles, depending on its characteristics.
Consider photographing:
- The front view.
- The sides and back.
- Fine details or materials.
- The product in use.
- Different available sizes or colors.
- Package contents, if applicable.
Make sure the colors are as close as possible to the actual product and that its dimensions and proportions are represented accurately. Avoid edits that alter the product’s shape or size in ways that could confuse customers.
How to Get the Right Lighting for Professional Product Photography
Lighting is one of the most important elements of product photography. It affects the visibility of details, color accuracy, shadows, and the overall impression of the image.
Natural light can be useful when photographing near a window. However, avoid direct sunlight if it creates harsh shadows or distracting reflections.
You can also use simple lighting equipment, such as:
- LED lights.
- Photography softboxes.
- Reflectors to distribute light.
- Light diffusers to soften shadows.
- Light tents for small or reflective products.
When photographing reflective products, such as glass or metal, pay attention to the reflections around the item. Soft, diffused lighting can help reveal details more effectively.
Lighting Tips for Better Product Photos
- Avoid direct flash if it creates excessive glare.
- Use a stable light source whenever possible.
- Check the shadows before taking the photo.
- Make sure the lighting does not distort the product’s colors.
- Try different light positions until you achieve the desired result.
Common Product Photography Mistakes to Avoid
Some simple mistakes can affect image quality and the customer experience. The most common include:
Using Inappropriate Lighting
Lighting that is too strong or too weak can cause product details to disappear or make colors appear inaccurate. Test the lighting before shooting and review the results.
Choosing a Distracting Background
Busy backgrounds can make products less noticeable. Choose a background that suits the product and helps highlight its details.
Photographing the Product from Only One Angle
A single image may not be enough to explain all the product’s features. Include multiple photos when necessary, especially for products with important details.
Overediting Product Images
You can improve brightness, contrast, and sharpness, but edits should not change the product’s characteristics or make its color or size appear unrealistic.
Failing to Stabilize the Camera
Camera or smartphone movement can result in blurry images. A tripod helps stabilize the device and improve image quality, particularly in low-light conditions.
How to Take Professional Product Photos with a Smartphone
You can use a smartphone to capture professional-looking product photos without complicated equipment. The quality of the results depends on how you use the camera, lighting, background, and phone stabilization.
To get better product photos with your smartphone:
- Clean the camera lens before shooting.
- Use a tripod to stabilize your phone.
- Choose a well-lit location.
- Use a simple, suitable background.
- Tap the product on the screen to set the focus.
- Avoid digital zoom whenever possible.
- Take photos from multiple angles.
- Review your images and select the clearest ones.
- Adjust lighting and colors without changing the product’s actual appearance.
These steps can improve the quality of smartphone product photography and make the process more organized and consistent.
Professional Product Photography for Online Stores
Displaying products in an online store requires organizing images in a way that helps customers understand the product and make informed purchasing decisions.
Before shooting, determine the number and types of images required for each product based on its characteristics and how it will be displayed in the store.
A product image set may include:
- A clear main product image.
- Images from different angles.
- Images highlighting details and materials.
- Photos showing the product in use.
- Images of available colors or sizes.
- Images showing the package contents.
Maintaining a consistent visual style across your store is important. Consistent backgrounds, lighting, and product presentation help create an organized and cohesive shopping experience.
Optimizing Product Images Before Uploading Them to Your Store
Product image quality depends on more than photography alone. It also involves preparing image files before publishing them.
Important steps include:
- Choosing dimensions suitable for your store’s design.
- Compressing images to reduce file sizes.
- Preserving clear and visible details.
- Using descriptive file names.
- Adding descriptive alternative text (ALT text).
- Avoiding image files that are larger than necessary for display.
You can explore Google’s image SEO guidelines to learn more about helping search engines understand your images.
Investing in Product Photography: How It Supports E-Commerce Success
Investing in product photography is an important step toward improving product presentation and enhancing the shopping experience. When images are clear and accurate, customers can better understand products and compare the available options.
High-quality product photography can help:
- Improve the first impression of your online store.
- Highlight product quality and details.
- Support advertising campaigns with visual content.
- Maintain a consistent brand identity.
- Reduce confusion caused by unclear images.
However, images alone do not guarantee increased sales. Results also depend on product quality, pricing, user experience, shipping and return policies, and how well the offer meets the needs of the target audience.
Professional Product Photography Tips on a Budget
If you manage a small online store or want to start photographing your products yourself, you can achieve good results with simple equipment.
Here are some practical tips:
- Use a smartphone with a good camera.
- Make use of daylight from a window.
- Use white paper or a simple background.
- Stabilize your phone with a suitable tripod.
- Use a simple reflector to soften shadows.
- Take several photos before selecting the final image.
- Keep the product and background clean.
- Review colors and details before publishing the images.
Following these tips can improve image quality without requiring you to purchase a large amount of equipment at the beginning.
Product Photography Methods and Styles
The best photography method depends on the type of product and the message your brand wants to communicate.
Some useful approaches include:
Photography with a Simple Background
This style focuses attention on the product itself and is commonly used for primary images in e-commerce stores.
Lifestyle Product Photography
Showing a product in use helps explain how it works and gives customers a practical understanding of its function.
Detailed Product Photography
This approach focuses on materials, components, or fine details that may influence a customer’s purchasing decision.
Creative Product Photography
Creative photography uses visual elements and innovative concepts that align with the brand identity. It can be particularly useful for advertising campaigns and social media content.
The right style depends on the product, target audience, and intended use of the image.
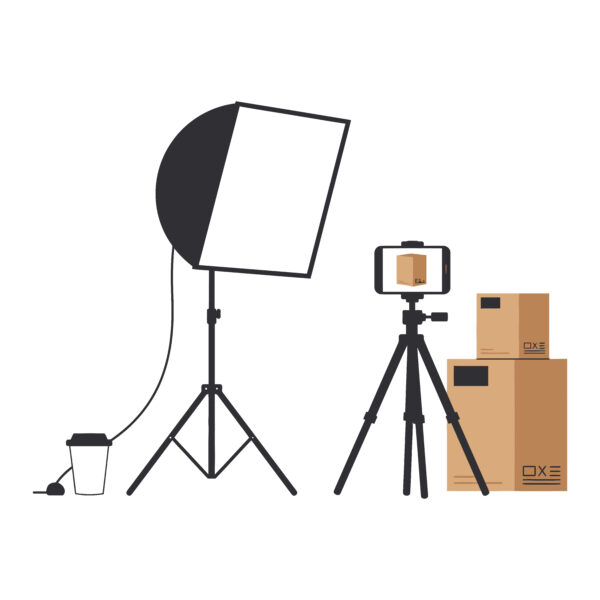
Product Photography Essentials for Small Businesses
Small businesses need to balance image quality with production costs. They can start by preparing a simple photography space, using a suitable camera or smartphone, and establishing a consistent style for presenting their products.
It is helpful to create a list of the products that need to be photographed and determine the essential images for each one. You can then organize photography sessions around similar product categories.
This approach saves time, improves image consistency, and helps reduce production costs.
You can also upgrade your equipment gradually as your business grows and your marketing needs increase.
How STEP Digital Marketing Can Help Improve Your Product Presentation
Successful product marketing requires visual content to work together with other elements of your digital presence, from e-commerce website design and marketing content to advertising campaigns and search engine optimization.
STEP Digital Marketing can help you develop your brand’s digital presence, improve how your products are presented, and plan marketing content that aligns with your business objectives.
To learn more about our services, visit STEP Digital Marketing or explore our projects.
Conclusion
Professional product photography depends on several interconnected elements, including choosing the right camera, preparing the background, adjusting the lighting, selecting suitable shooting angles, and accurately presenting product details and colors.
Good product photos do not always require expensive equipment. A smartphone can be a suitable tool when used correctly.
By applying these essential professional product photography tips, you can improve image quality, present your products more clearly and attractively, and support a better shopping experience in your online store.